Who needs to buy an Easter egg kit when you can dye your eggs naturally with food coloring . Here is a step by step guide for coloring your Easter eggs ..
Preparing your Easter eggs –
Before decorating your eggs, you need to hard-boil them.
Place the eggs in a large saucepan. Add cold water; enough to
completely cover the eggs. Place on medium-high heat and bring
water to a gentle boil. Reduce heat and simmer eggs for 10-12 minutes.
Remove from heat and fill with cold water. The eggs must be completely cool and dry, to decorate successfully.
Dye your eggs-Combine 1 Tablespoon of food coloring with 2 tsp. vinegar in a cup that is deep enough for the eggs. Add water to about the half way point. Gently place the eggs into the cups. Use a large spoon to place
the eggs into the cups, to avoid cracking. The longer they are left in the dye, the darker the color shade. You can experiment with different combinations of colors. Yellow and Red make Orange, Blue and Red make Purple, etc.. Remove the egg from the dye, pat dry with a paper towel and place in a holder.
Here are a few more fun ideas that you might want to try with your Easter Eggs this year…
Stripes!-Wrap rubber bands around hard cooked eggs, then drop them in food-coloring dye. Remove eggs , pat dry with paper towel, and remove rubber bands. The parts of the egg covered with rubber bands will not be colored. Once the rubber bands are removed, you can drop the egg into a different color dye.
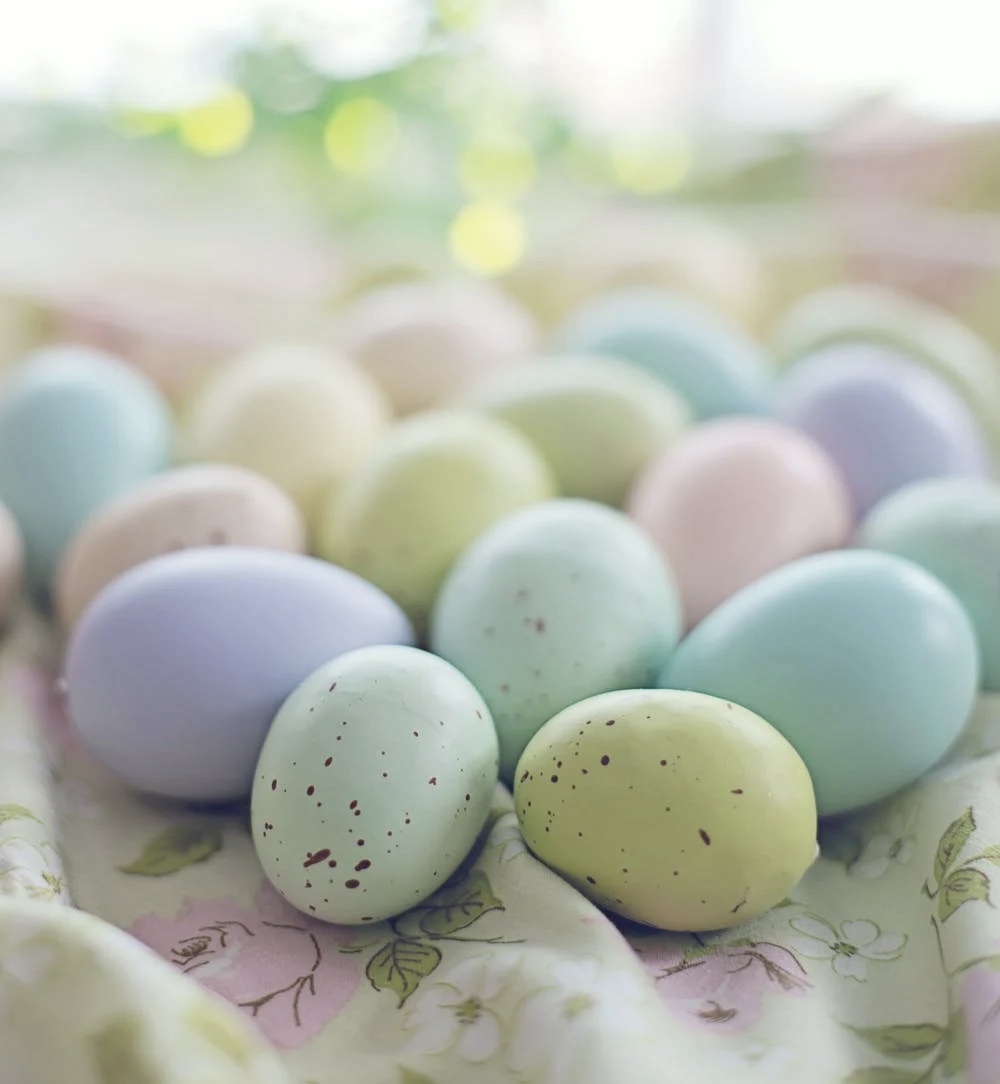
Dots-Use undiluted food coloring and a cotton swab to paint colorful polka dots onto your white hard boiled eggs. Let the eggs sit in egg cups until dry.
Write on name your eggs– Using a white crayon and write everyone’s name on each hard boiled egg, (don’t forget your pets!) draw rabbits, chicks, etc.. then drop into the dye.. You will have unique personalized Easter eggs for each person in the family.